We released a new document upload tool. Our intent was to gradually roll it out and gently sunset our old EMR document upload tool. Then, a windows update broke the old application. So… our timeline got expedited. Oh, life!
The new tool is much more flexible and lightweight than the old one. It pairs with any scanning app you already have on your computer.
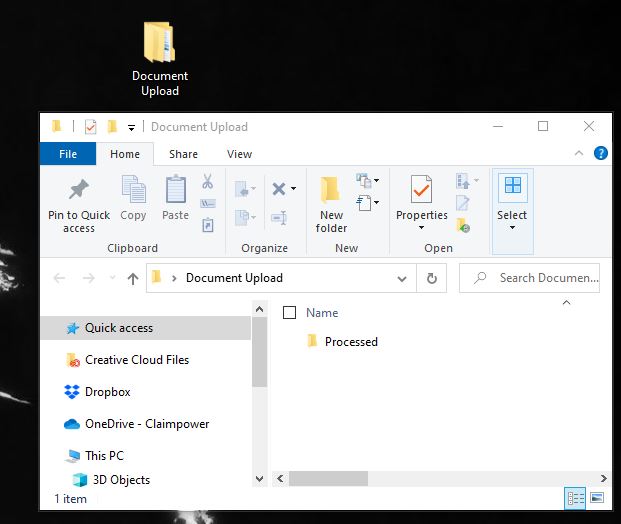
Before you start, we recommend you create a “Document Upload” folder on your desktop with a “Processed Folder” inside of it.
Scan your file with any scanning app on your computer. Save the file to the folder. Take a moment to review your file to make sure everything scanned correctly. Remember that big files make things slow. Please scan in black and white at a low resolution (100 DPI). The next sections detail what you can do next.
Upload Billing, EOBs, or Medical Records for Claimpower to Index
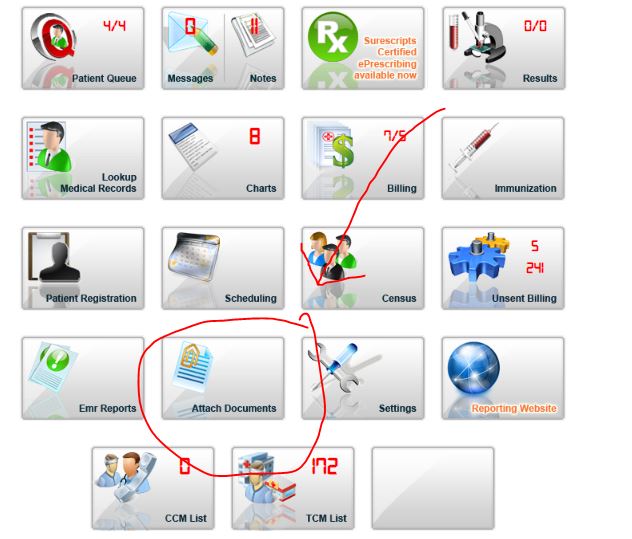
Go to “Attach Documents”
Drag and drop your file onto the screen. Select the type of document you’re uploading and hit “Start.” You’re done!

Upload A Document Right to a Patient’s Chart
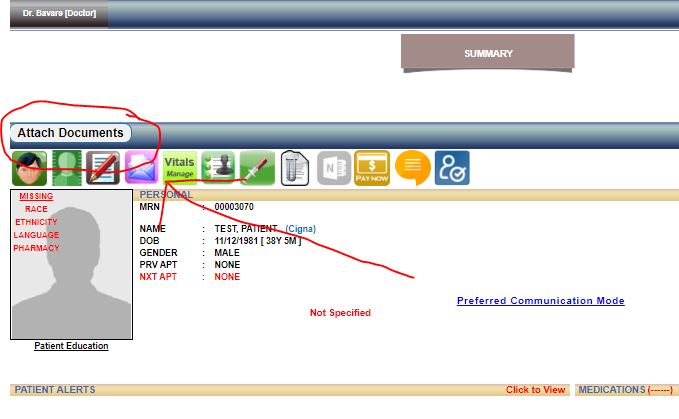
Navigate to the Patient Summary screen. Hit “Attach Documents.” Drag and drop the file to upload.
Bulk Upload & Index
Select your file from the left. Enter the patient information. Hit “Add” then “Save” to add it to a patient chart. If you’d like to save time in your office, Claimpower offers this as an optional service for $0.10/ page.


Please email our Client Support team at help@claimpower.org or call/ text us at 201-345-3595 if you need help.